
How I Design a Bespoke Cutting Board — From Start to Finish
- jamie

- Jan 2
- 4 min read
Updated: Jan 27
A bespoke cutting board is more than just something you chop on. Every board I make starts with a conversation and ends with a piece designed to be used, cared for, and enjoyed for years.

This is how I take an idea, sometimes just a rough sketch or a feeling, or it just seems right, and turn it into a finished, functional cutting board
Custom made means……. Custom made!
Before I touch timber, I ask questions:
Is this an everyday kitchen board or a statement piece?
Will it be used for heavy chopping, serving, or both?
Is it a gift, and does it mark a special occasion?
This step shapes every decision that follows. Size, timber choice, construction style, and finish.
Choosing the Right Timber

Timber selection is where character really starts to show.
I often work with:
Camphor Laurel — durable, practical, and beautifully amazing combinations of blonde and deep chocolate tones.
Red Gum – Beautiful deep colour that gets better with age!
Jarrah — rich tones and strong contrast, very strong and hardy.
Mixed hardwoods — when a bold pattern is part of the brief.
I look closely at:
Grain direction
Colour variation
Stability and food safety
No two boards are ever identical, and that’s the point. I can certainly develop a theme but each piece is individual in nature.
Designing the Layout & Pattern

Once timber is selected, I design the layout:
Natural edge or more uniform in nature
Clean, minimal lines or bold contrast
Whether the board should make a statement or quietly do its job
This stage often includes:
Laying boards out by hand
Rotating pieces to find the best natural flow
Adjusting widths and spacing until it “feels right”
Design here is intuitive as much as technical.
Milling, Glue-Up/ epoxy pour & Shaping
This is where patience matters.
The process includes:
Jointing and planing for perfectly flat surfaces, whether this is a combination of thicknessener (planer for my North American mates!), jointer, or just getting out the router and flattening this way, this initial stage is critical to ensure the material is flat to begin with.
Glue-ups done slowly and accurately. Clamping it down, letting the glue dry and cure (more on that in a moment) is so important, or if using epoxy, ensuring there is time for the epoxy to cure and you have a clean temperature controlled environment.

Allowing proper cure time (no rushing this part!) Whether this is glue or the epoxy resin. This is a step that cannot be rushed.
Once set, the board is:
Cut to final shape
Routed for handles or juice grooves (if requested)
Carefully checked for balance and symmetry
Sanding — mindfulness or a necessary evil?
Sanding is one of the most time-consuming steps, and one of the most important.

I work through multiple grits to ensure:
No sharp edges
A smooth, tactile finish
Grain that feels as good as it looks
A quick spray with some water to raise the grain before continuing through the grits helps achieve that truly smooth finish.
Finishing for Protection & Longevity

Each board is finished with food-safe oils and waxes, applied slowly and evenly.
This:
Enhances the timber’s natural colour
Protects against moisture
Makes the board easy to maintain at home
It really makes a difference and for a cutting board, I do love the combination of beeswax and food safe mineral oil you can purchase in my store.
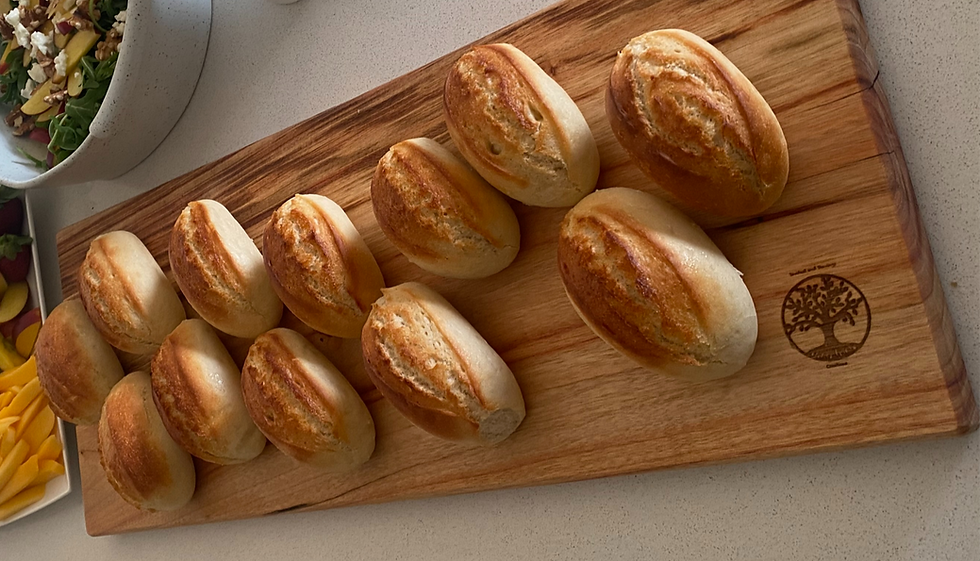
I finish boards the way I’d want one in my own kitchen. My amazing wife does some amazing charcuterie boards for weddings and special events. What she does is art. But having nice boards well finished and statement pieces certainly helps accentuate the amazing work to make the presentation look just that little more special.
Final Checks & Care Instructions
Before a board leaves my workshop, I check:
Flatness and stability
Finish consistency
Comfort in hand
Each customer receives care guidance, so the board continues to age well with use.
Why Bespoke Matters?
A custom cutting board:
Reflects how you cook
Becomes part of daily rituals
Tells a story through material and craft
Makes everyday chores just that little more special
Great conversation starter for events.
Mass-produced boards are replaceable. A bespoke one earns its place on the bench.
Thinking About a Custom Board?
If you’re considering a board made specifically for you; your kitchen, your cooking style, or as a meaningful gift I’d love to talk. Get in touch via the contact page or message me on Instagram.
I would just like to wish you all a Happy New Year and all the best for 2026.


Comments